DM Portal Overview
Data Migration (DM) provides a variety of features, including table routing, block & allow table lists, and binlog event filter. However, these features also increase the complexity of using DM, especially when users are modifying DM task configurations.
To address this problem, DM provides a simple web application, DM Portal. DM Portal enables users to visually configure the required migration tasks, and generates a task.yaml file that can be directly executed by DM.
Features
This sections describes the features of DM Portal.
Configure the migration mode
DM Portal supports three migration modes:
- Full migration
- Incremental replication
- All (full + incremental)
Configure the instance information
DM Portal supports configuring table routing, and merging sharded schemas and tables in DM.
Configure the binlog event filter
DM Portal supports configuring the binlog event filter in schemas and tables.
Generate the configuration file
DM Portal supports generating configuration files and downloading these files to your local computer. Meanwhile, it automatically creates a file in the /tmp/ directory on the dm-portal server.
Restrictions
Currently, DM Portal's visualized pages cover most DM configuration scenarios, but with the following restrictions:
The SQL pattern of binlog event filter is not supported.
The editing feature does not support parsing the
task.yamlfile created by the user. The user can only edit thetask.yamlfile generated by the page.The editing feature does not support modifying the instance configuration. If the user need to adjust the instance configuration, the
task.yamlfile has to be regenerated.The upstream instance configuration on the page can only be used to obtain the upstream table schema. The related upstream instance information still needs to be configured in DM-worker.
In the generated
task.yamlfile, mydumper-path is./bin/mydumperby default. If you use another path, modify the generatedtask.yamlfile manually.
Deploy
This section describes how to deploy DM Portal in two ways: using binary or DM Ansible.
Deploy using binary
Download DM Portal at dm-portal-latest-linux-amd64.tar.gz. To start DM Portal, run the ./dm-portal command.
- If you run DM Portal locally, visit
127.0.0.1:8280in your browser. - If you run DM Portal on a server, configure a proxy on the server.
Deploy using DM Ansible
To deploy DM Portal using DM Ansible, refer to Deploy Data Migration Using DM-Ansible for details.
Usage
This section describes how to use DM Portal.
Create rules
This feature is used to create a task.yaml file.
Operation steps
Access the dm-portal page, and click Create New Rule.
Configure the basic information
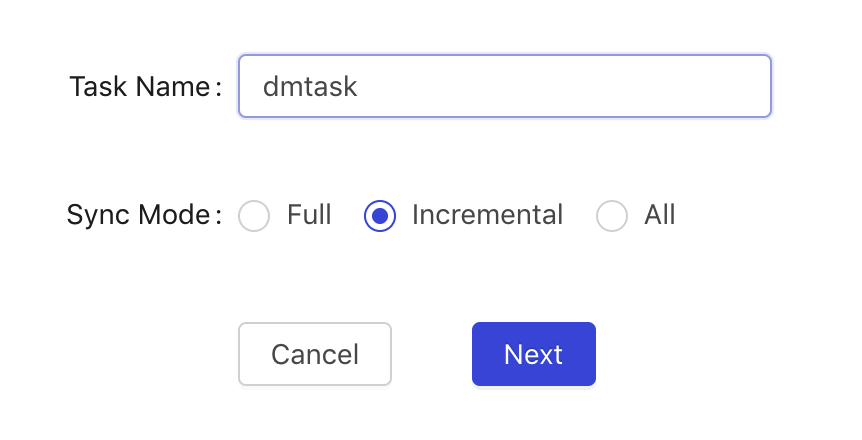
This feature is used to fill in the task name and select a task type.
Prerequisites
Create New Sync Rule is already selected.
Operation steps
- Fill in the task name.
- Choose a task type.
Configure the instance information
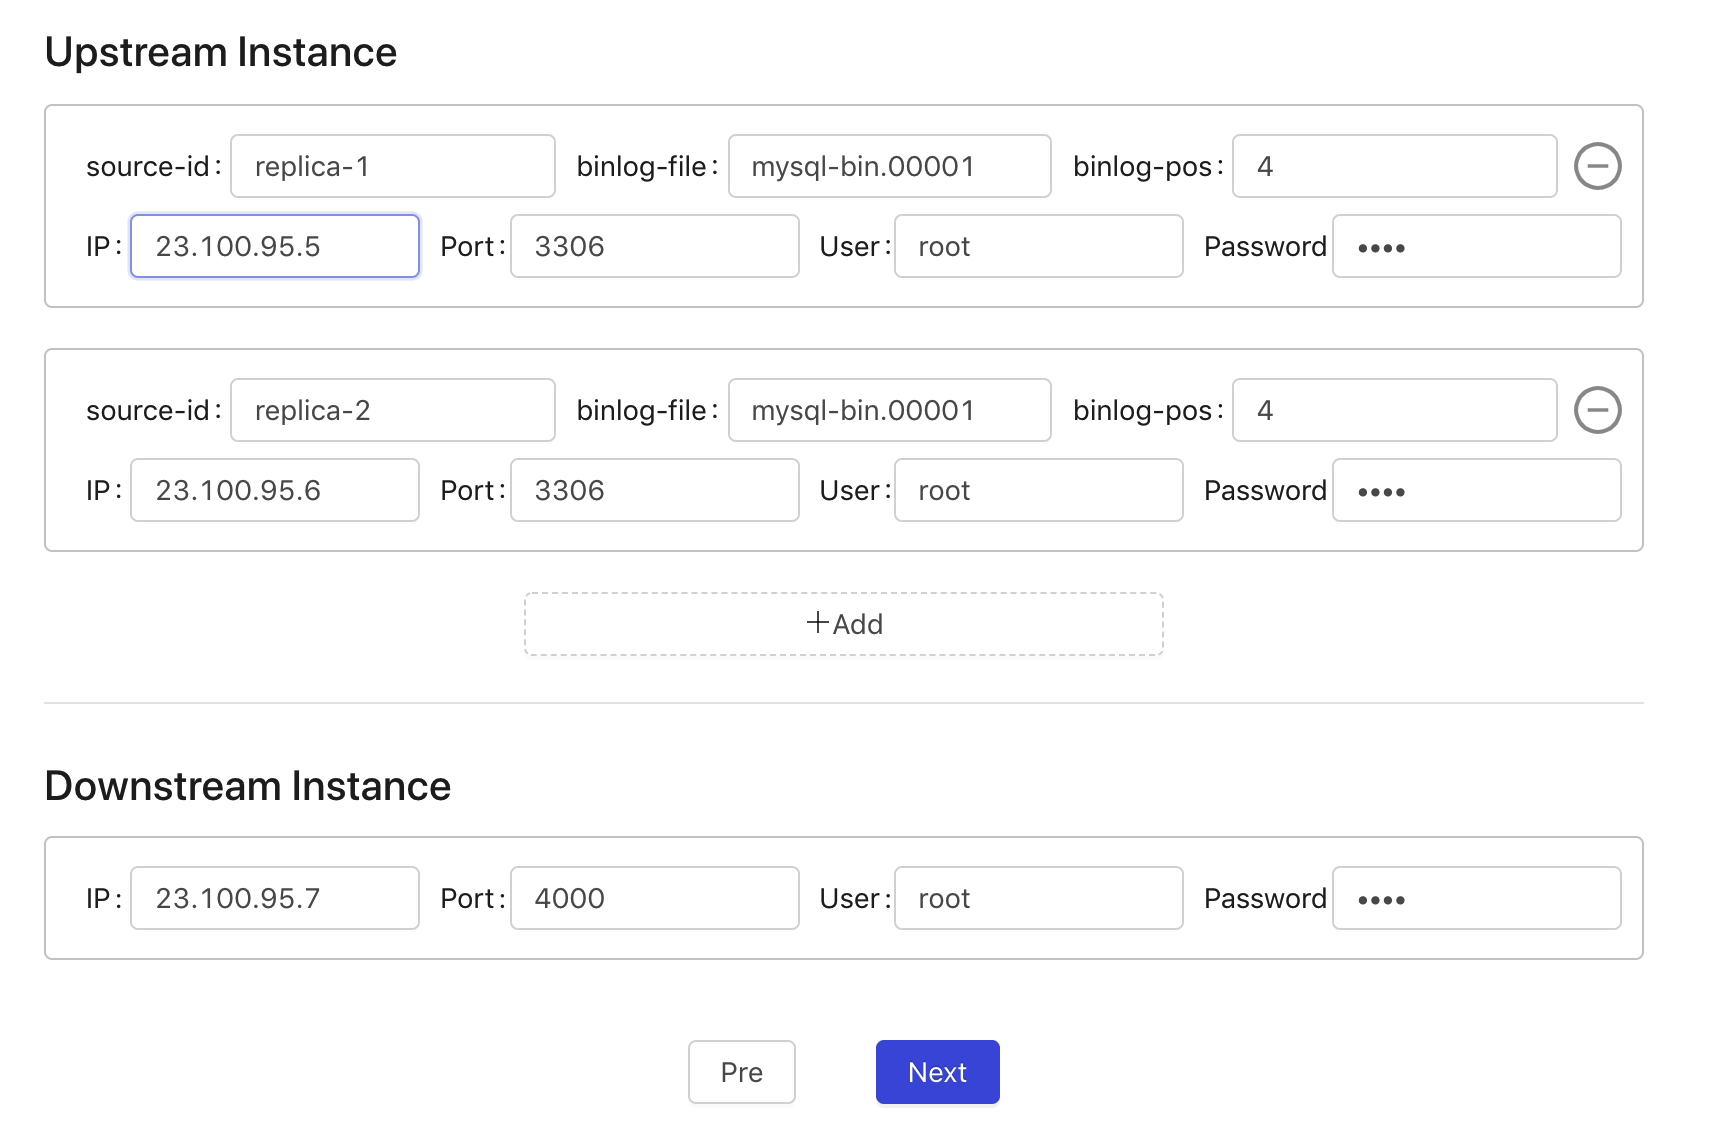
This feature is used to configure the upstream and downstream instance information, including Host, Port, Username, and Password.
Prerequisites
Task Name and Task Type are already filled in.
Operation steps
- Fill in the upstream instance information.
- Fill in the downstream instance information.
- Click Next.
Configure the binlog filter
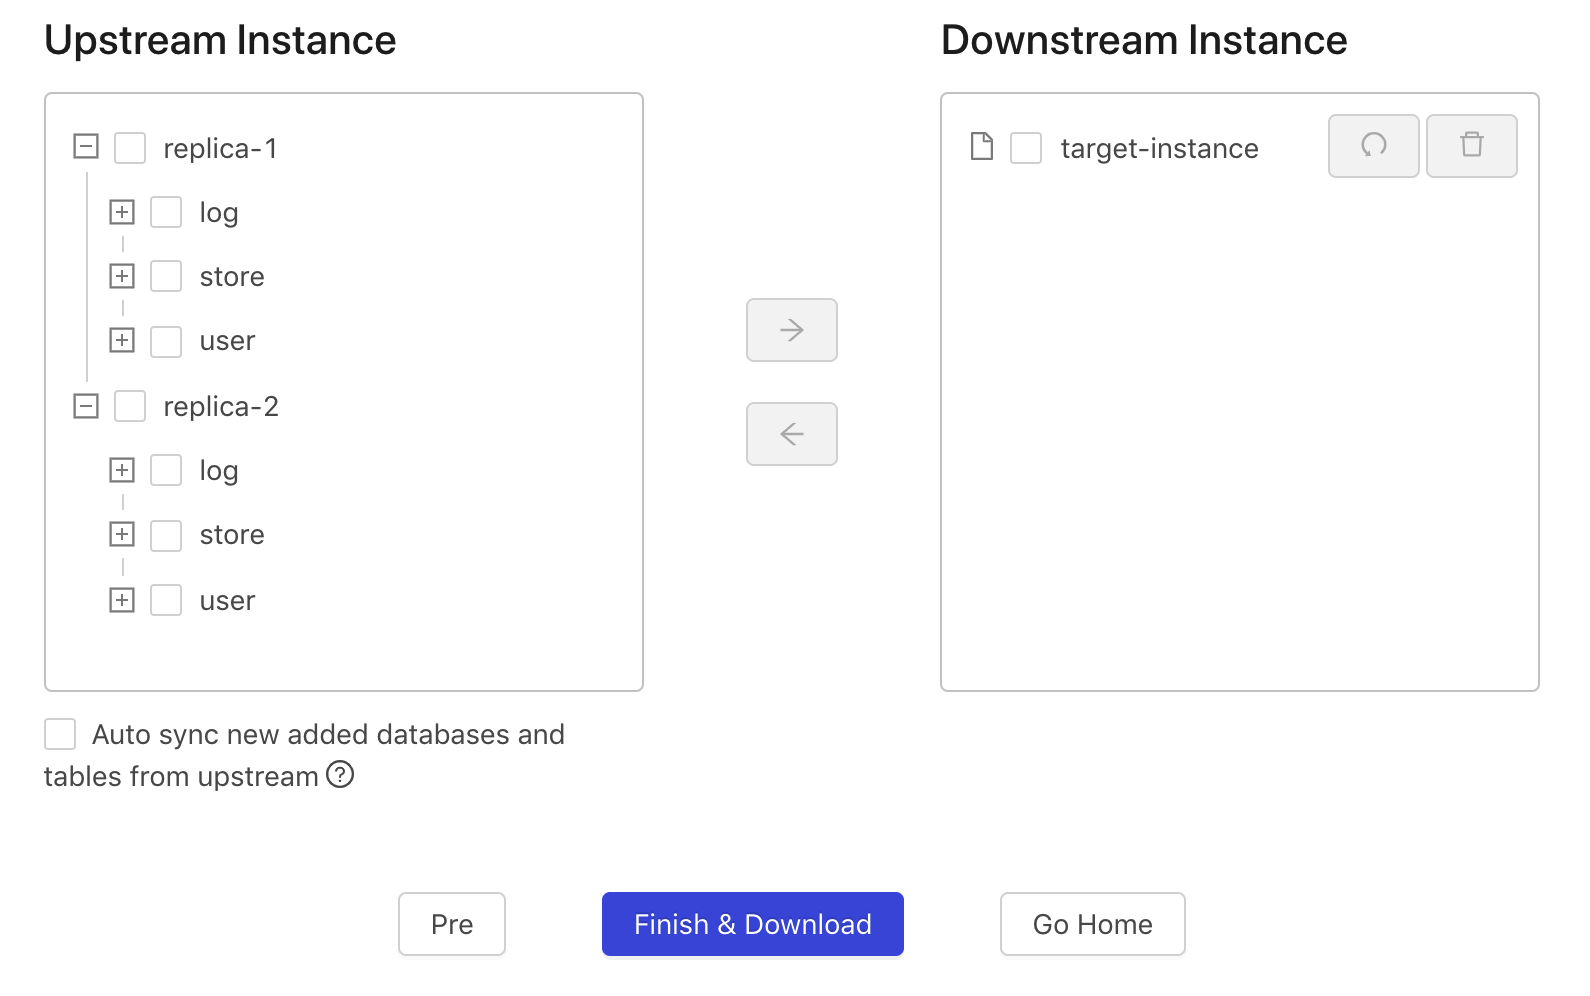
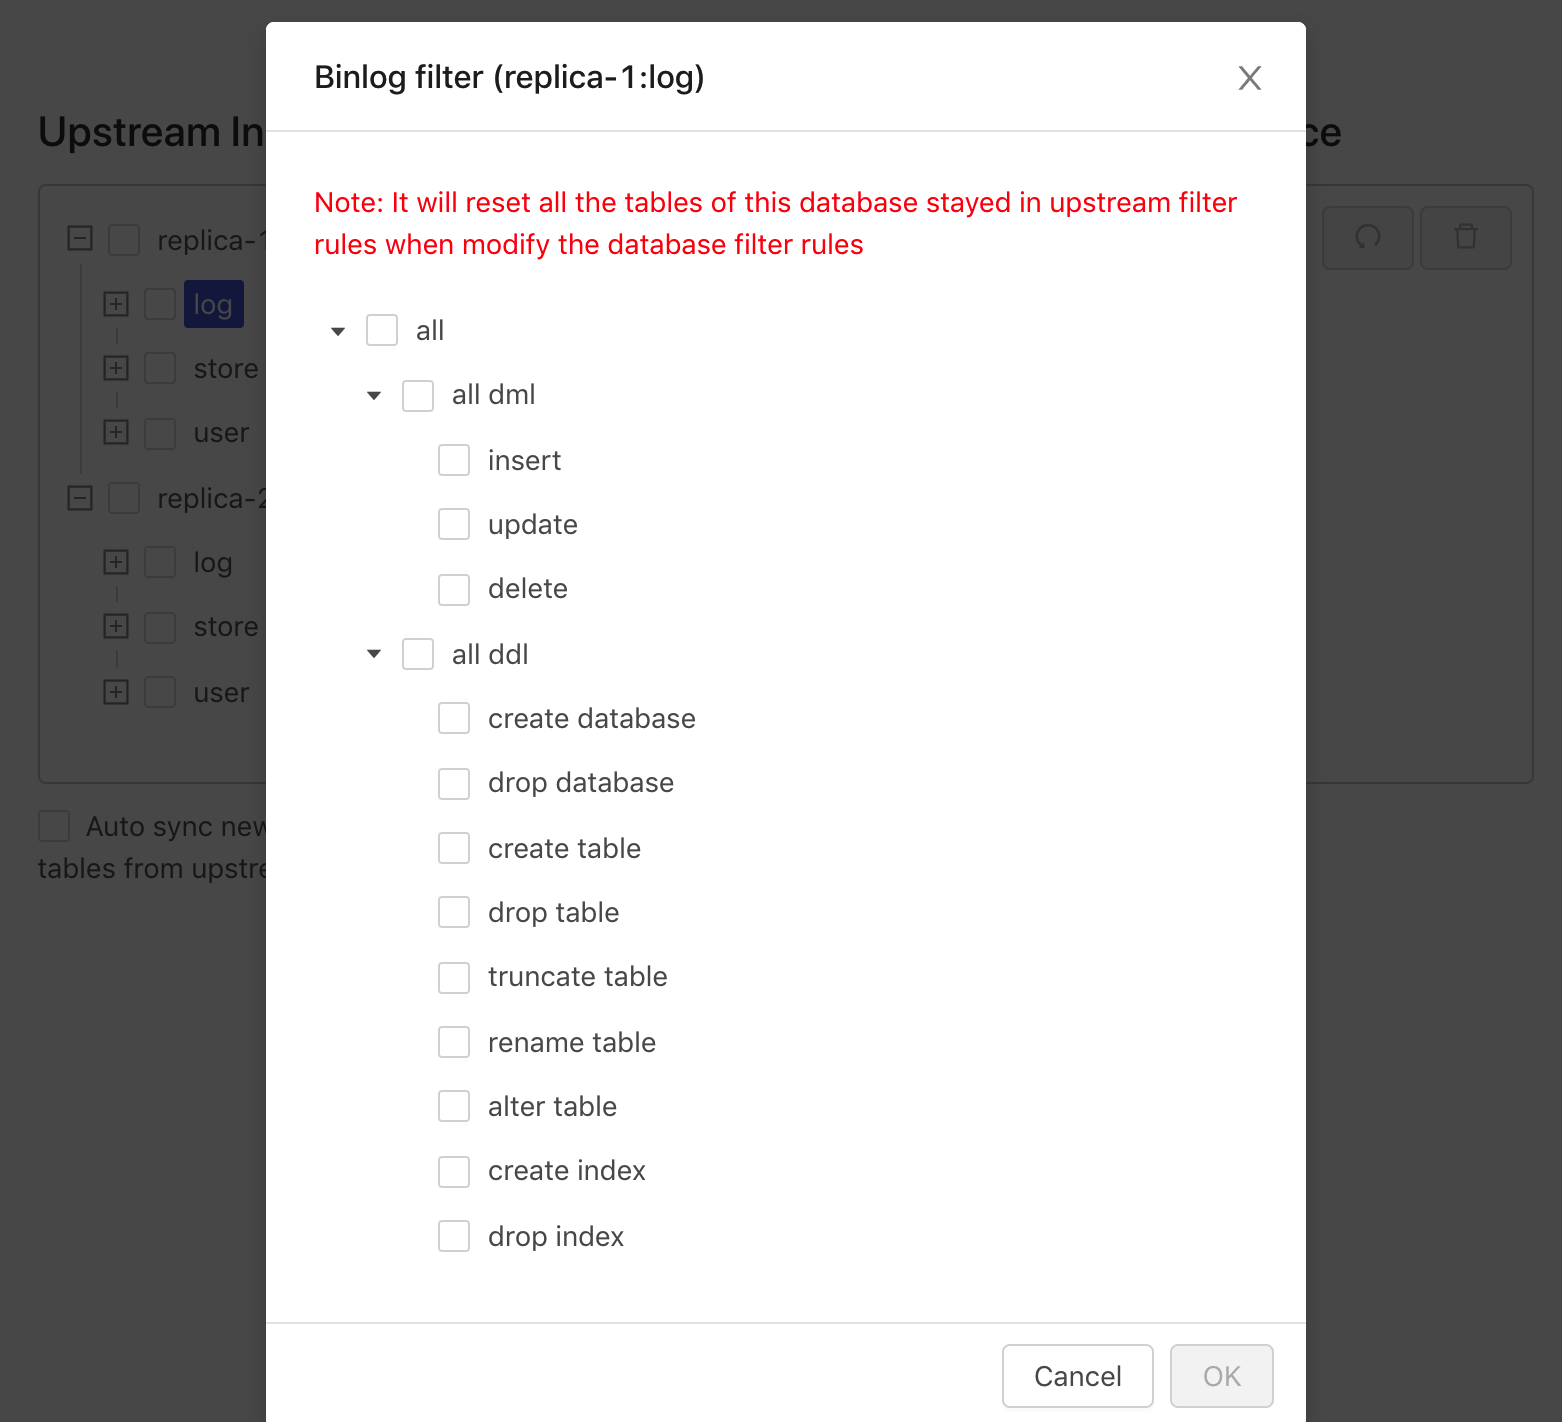
This feature is used to filter the upstream binlog. You can choose the DDL or DML that needs to be filtered. The filter configured on the database is automatically inherited by tables in that database.
Prerequisites
- The upstream and downstream instance information is configured.
- The connection is verified.
Operation steps
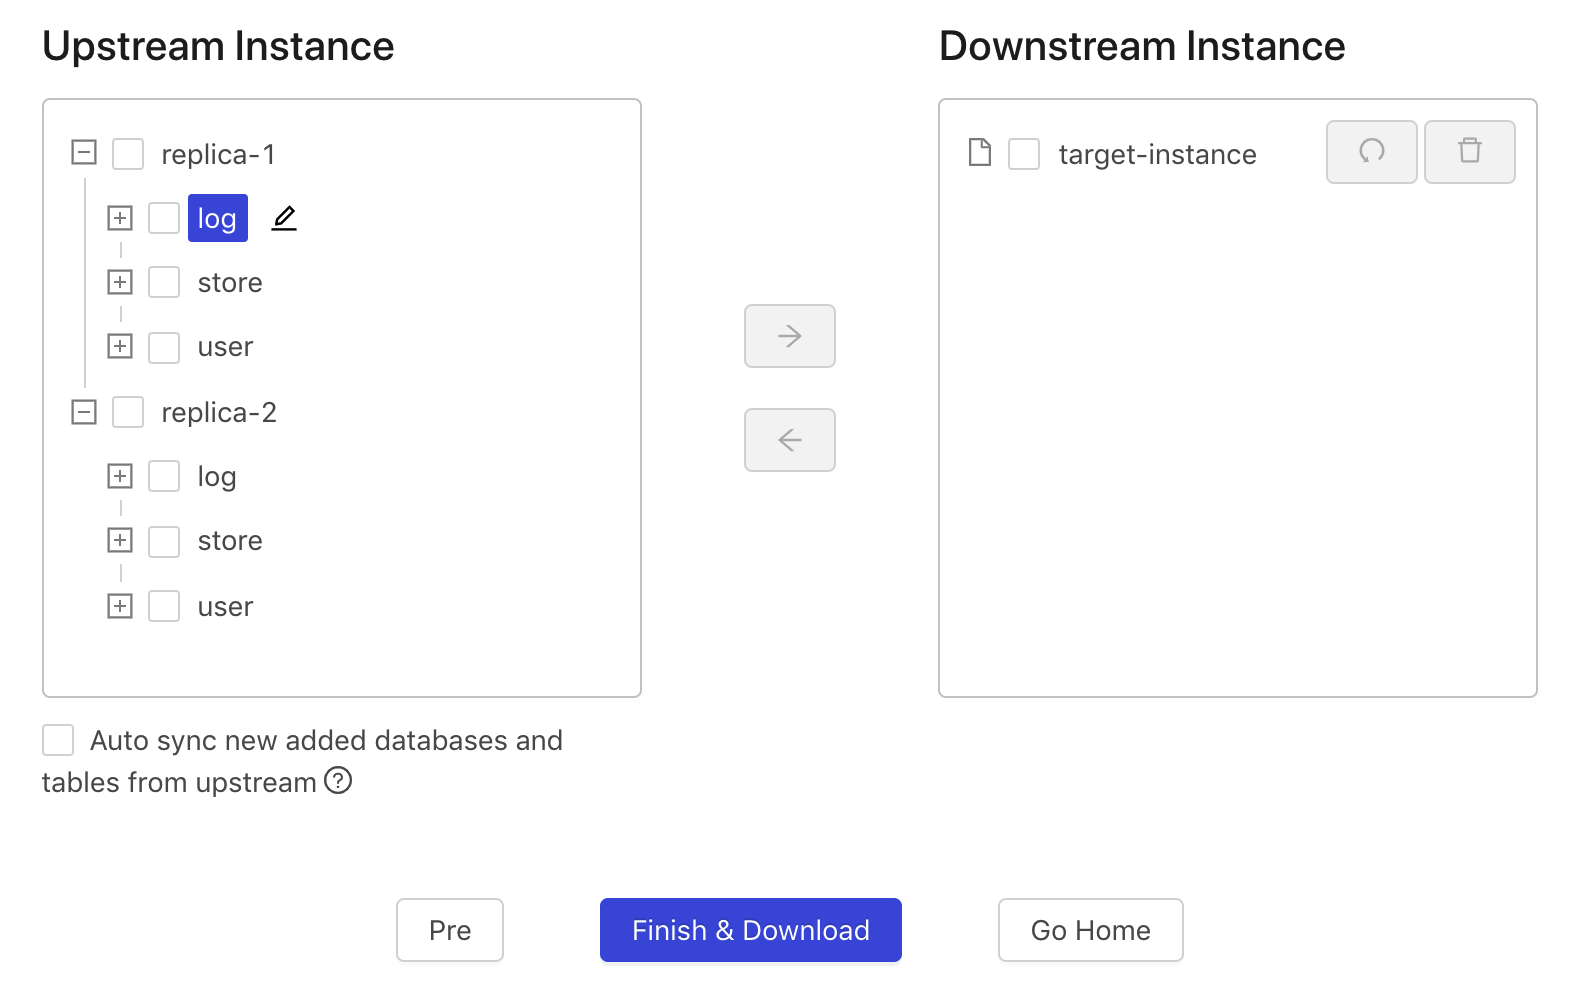
Select the databases or tables that need to be configured.
Click the Edit button, and select the binlog types to be filtered.
Configure table routing
This feature is used to perform the following operations:
- Select the databases and tables that need to be synced, modify their names, and merge databases and tables
- Revert the last operation
- Reset all configurations of table routing
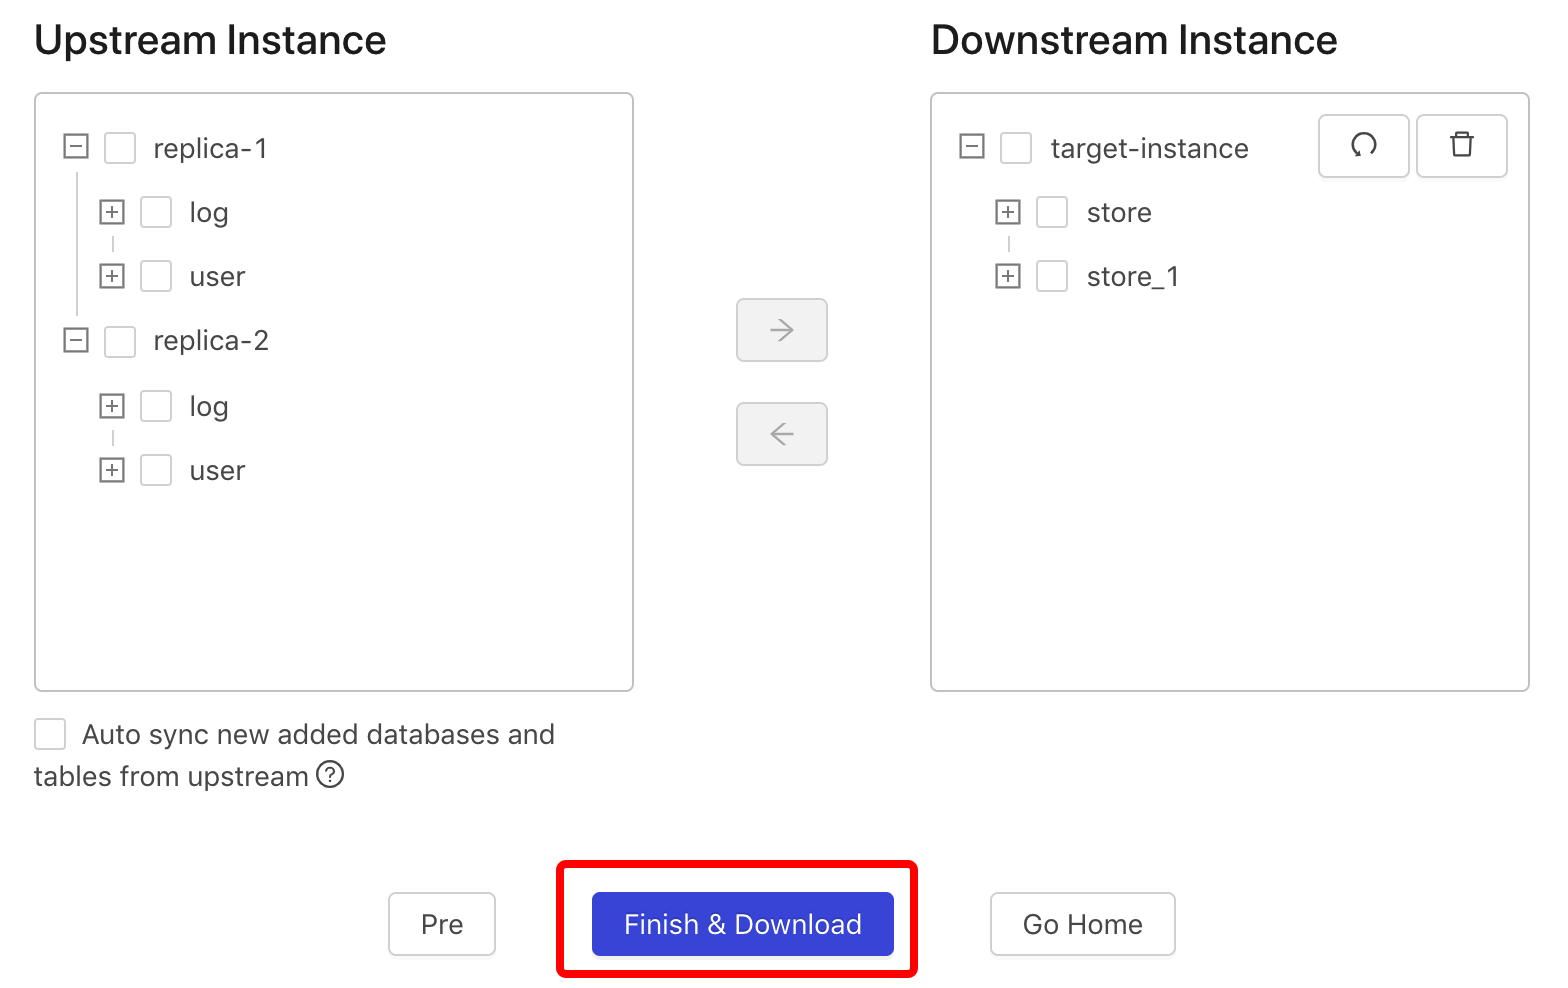
After the task configuration is completed, DM Portal generates the corresponding task.yaml file.
Prerequisites
The required binlog filter rules are configured.
Operation steps
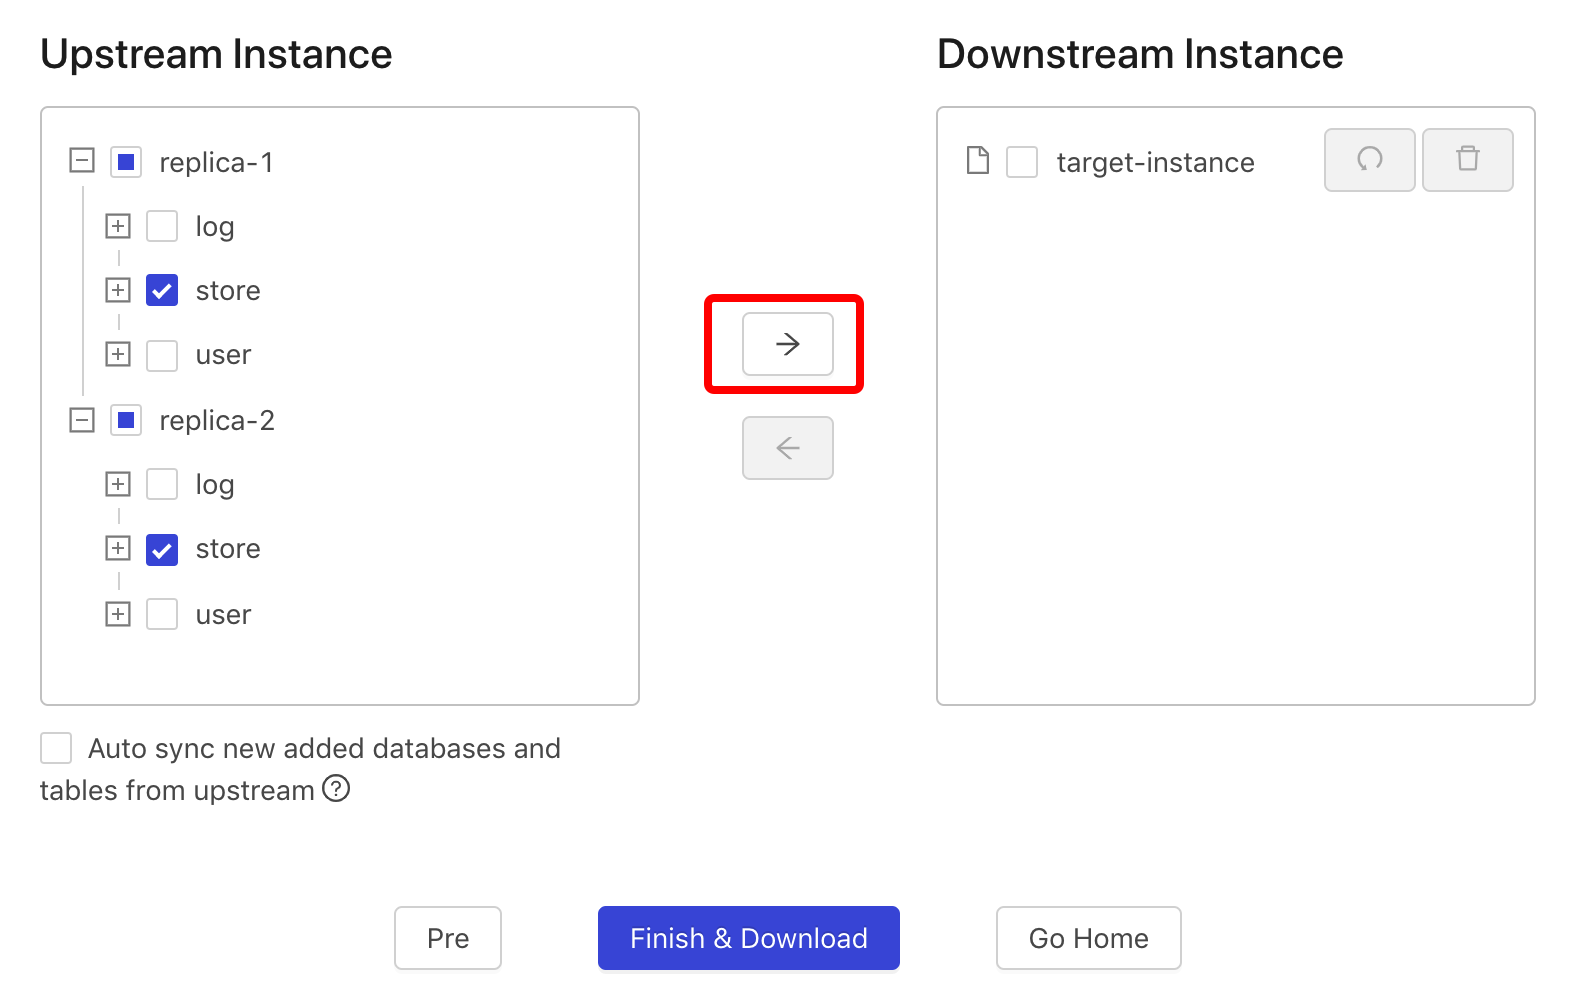
Select the databases and tables that need to be synced from Upstream Instance.
Click the Move button and move the selected databases and tables to Downstream Instance.
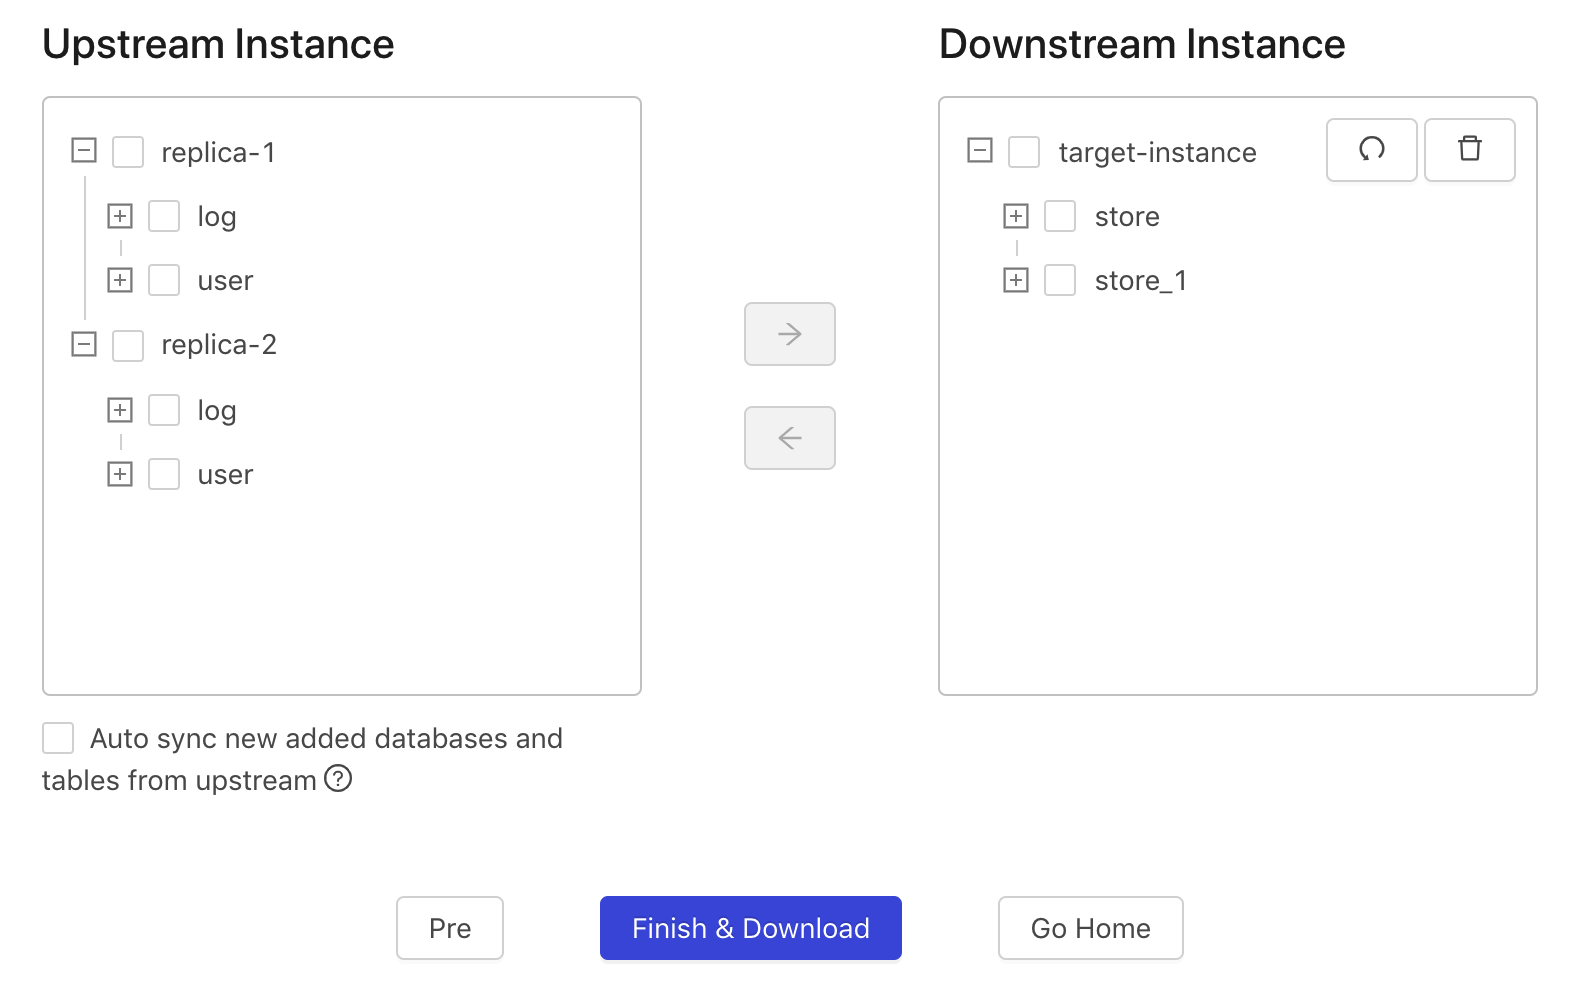
Right click the databases and tables to rename them.
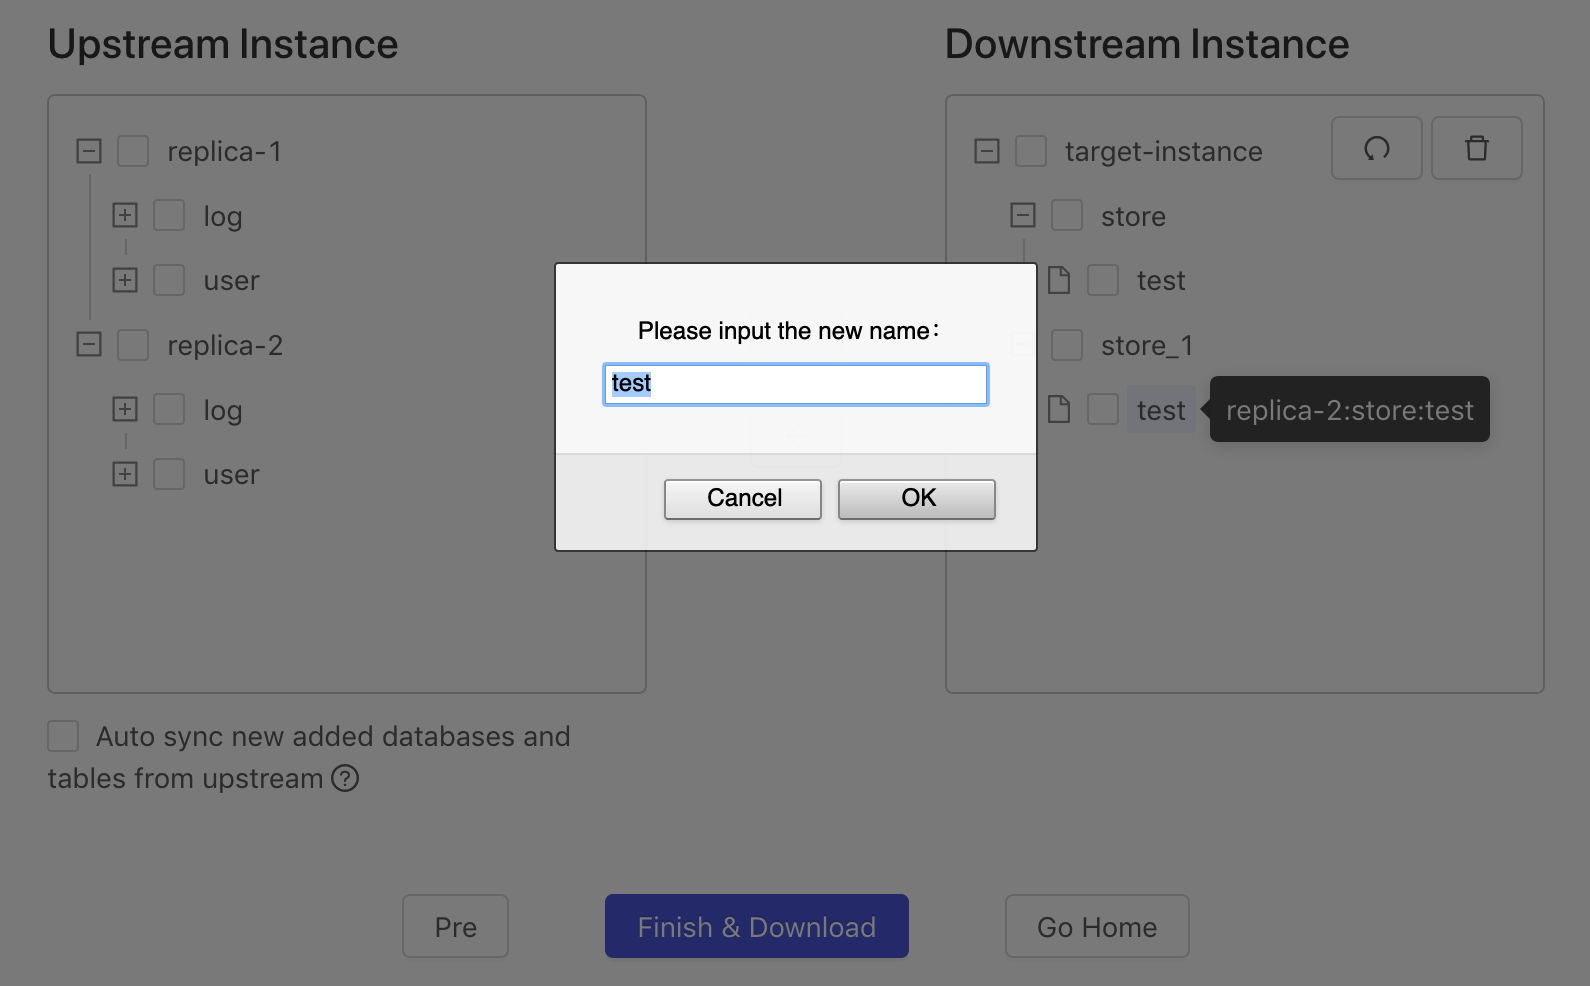
Select the required table to perform the following operation:
To merge two tables, drag the table onto another table
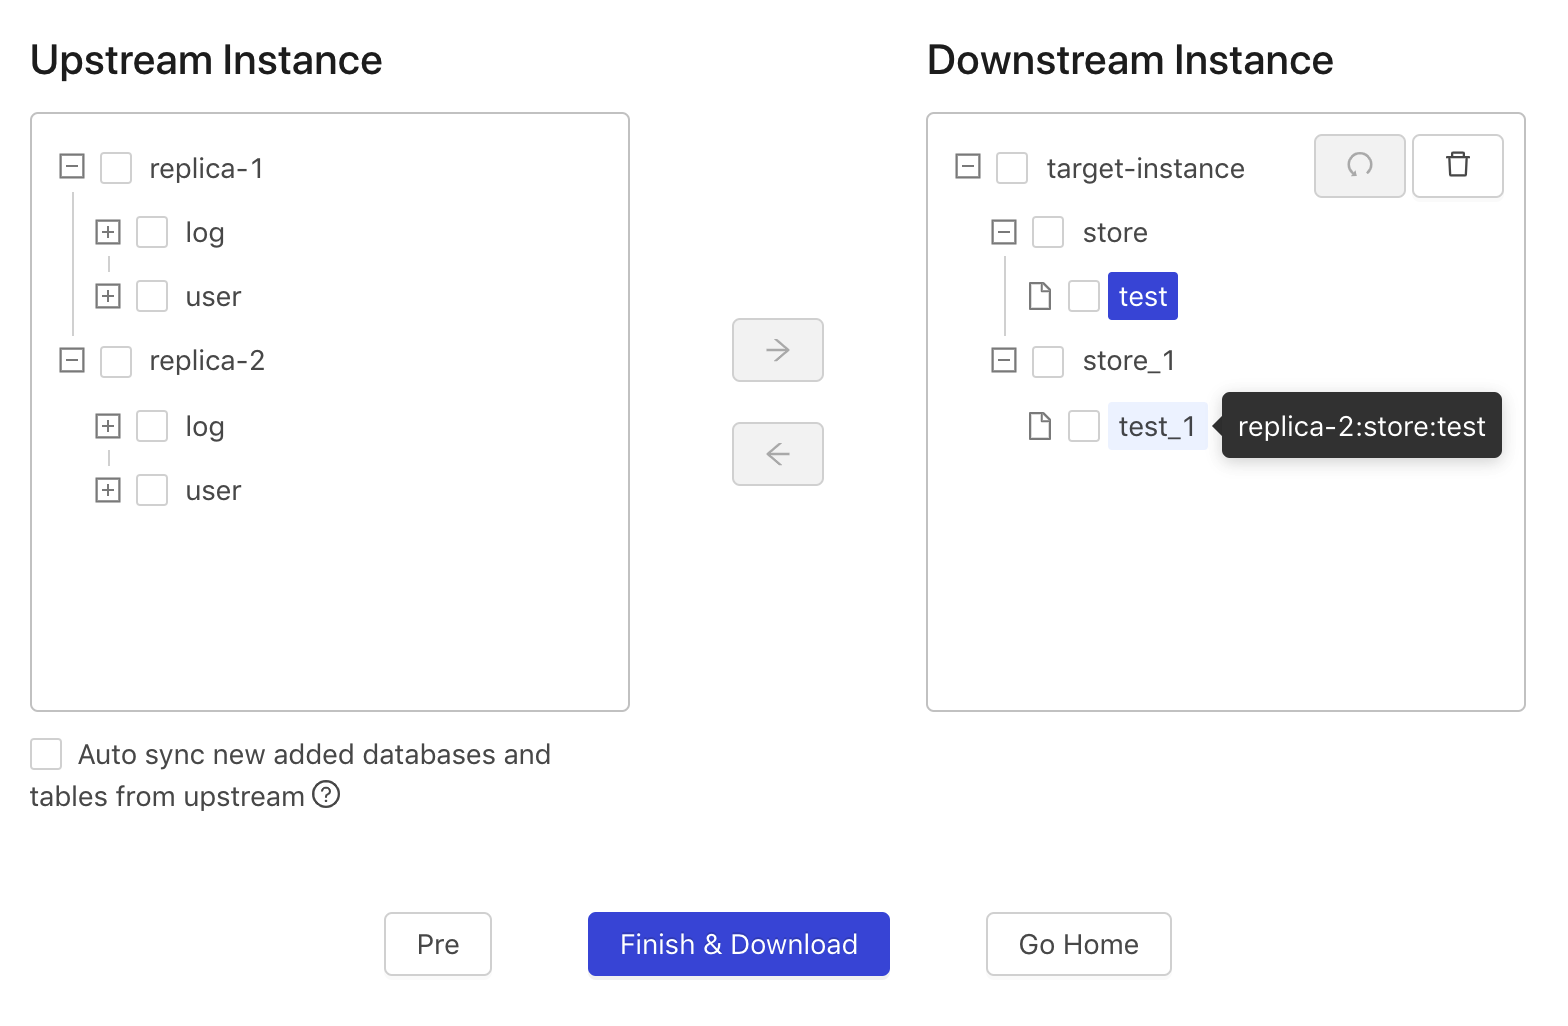
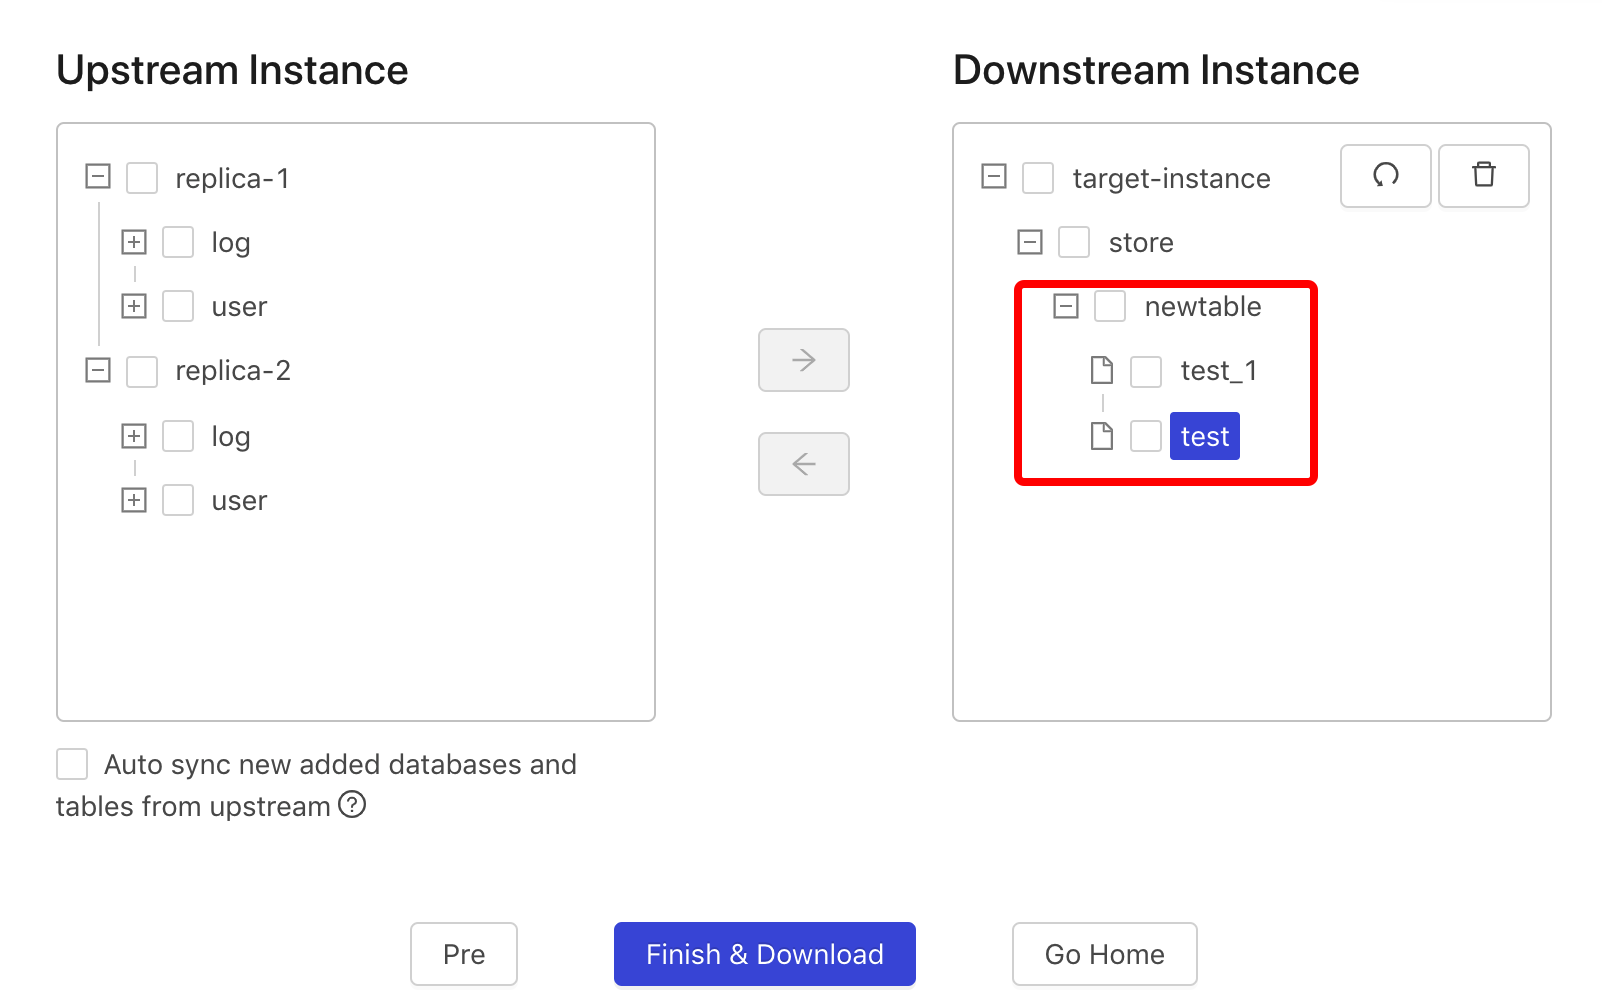
To move the table to an existing database, drag the table onto the database
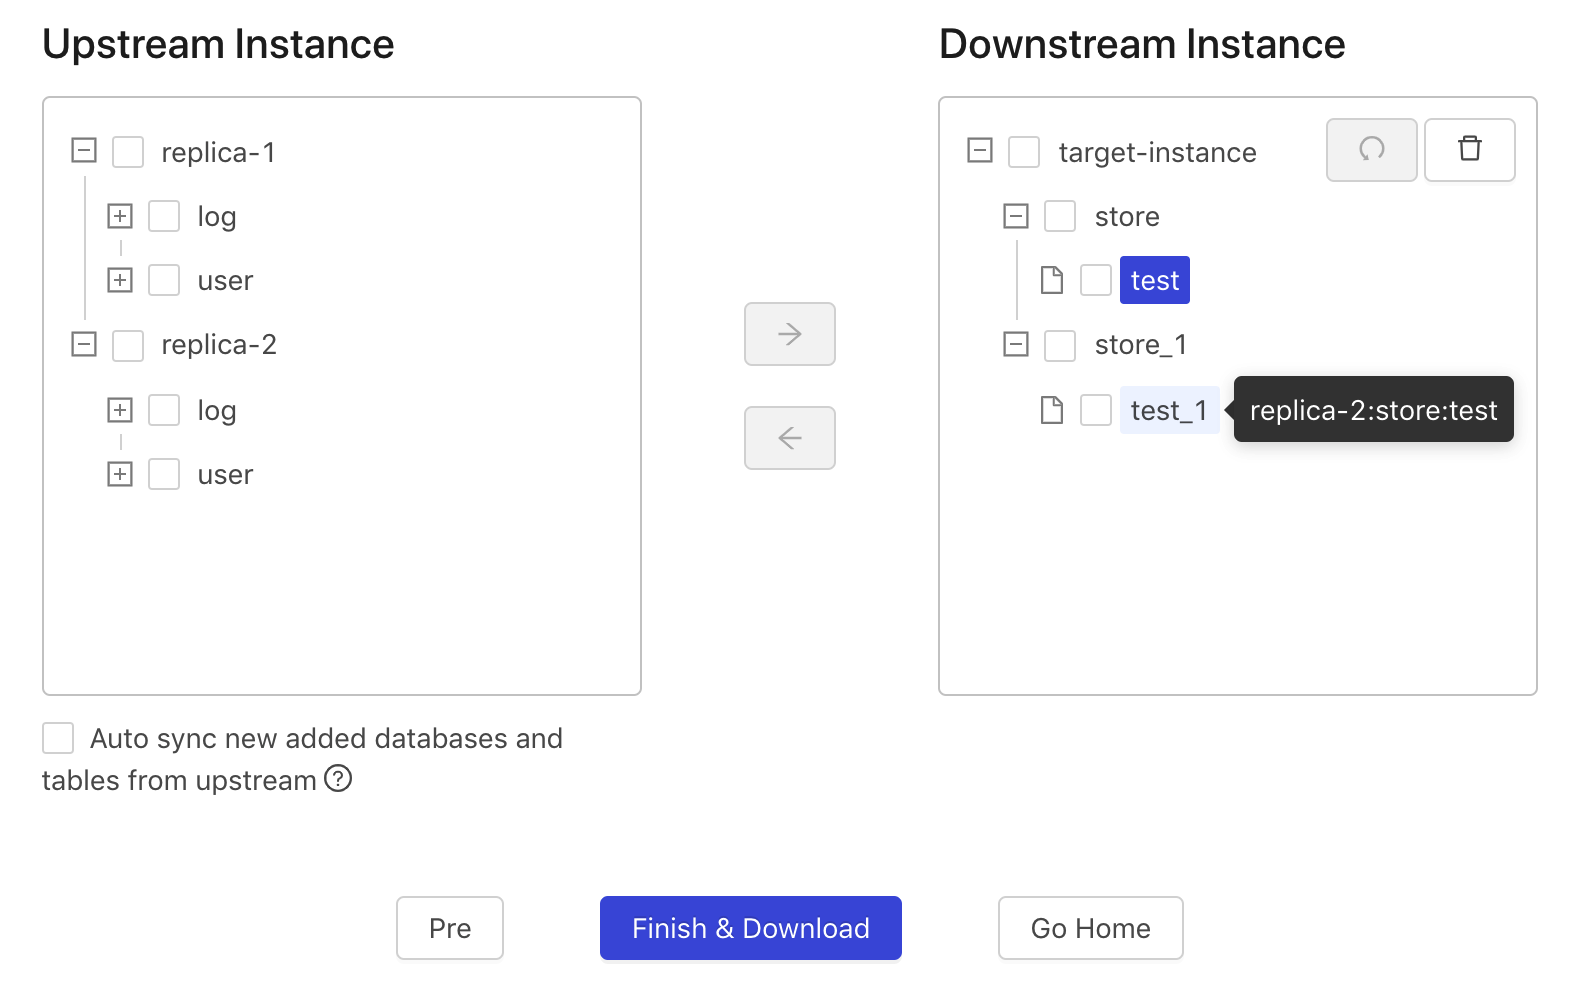
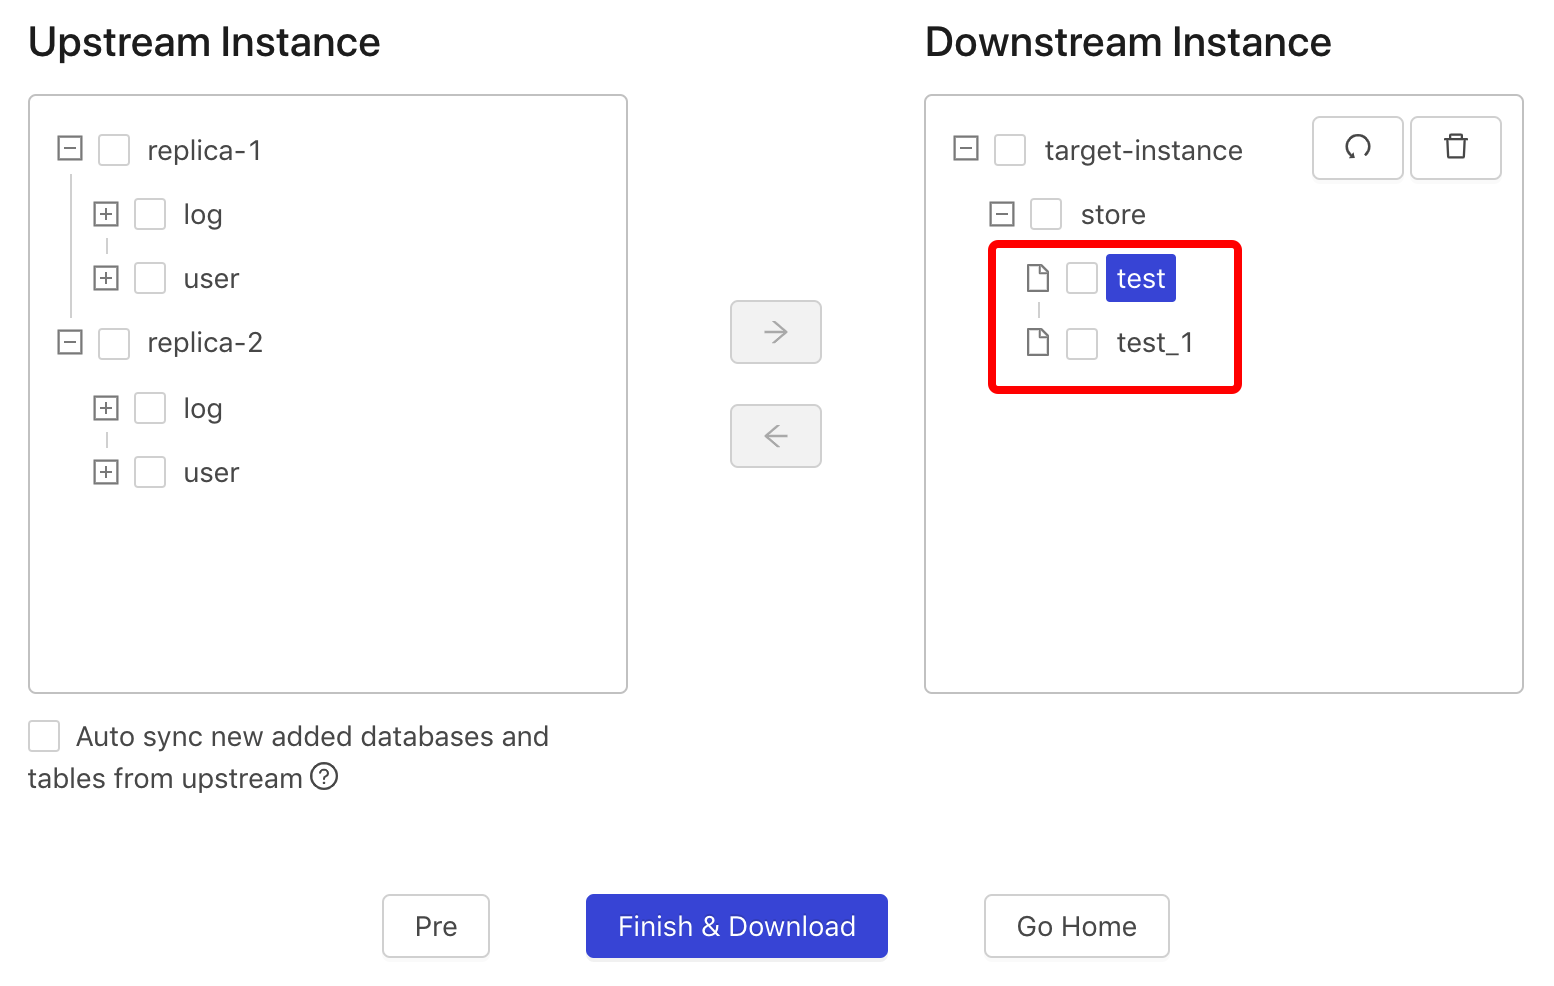
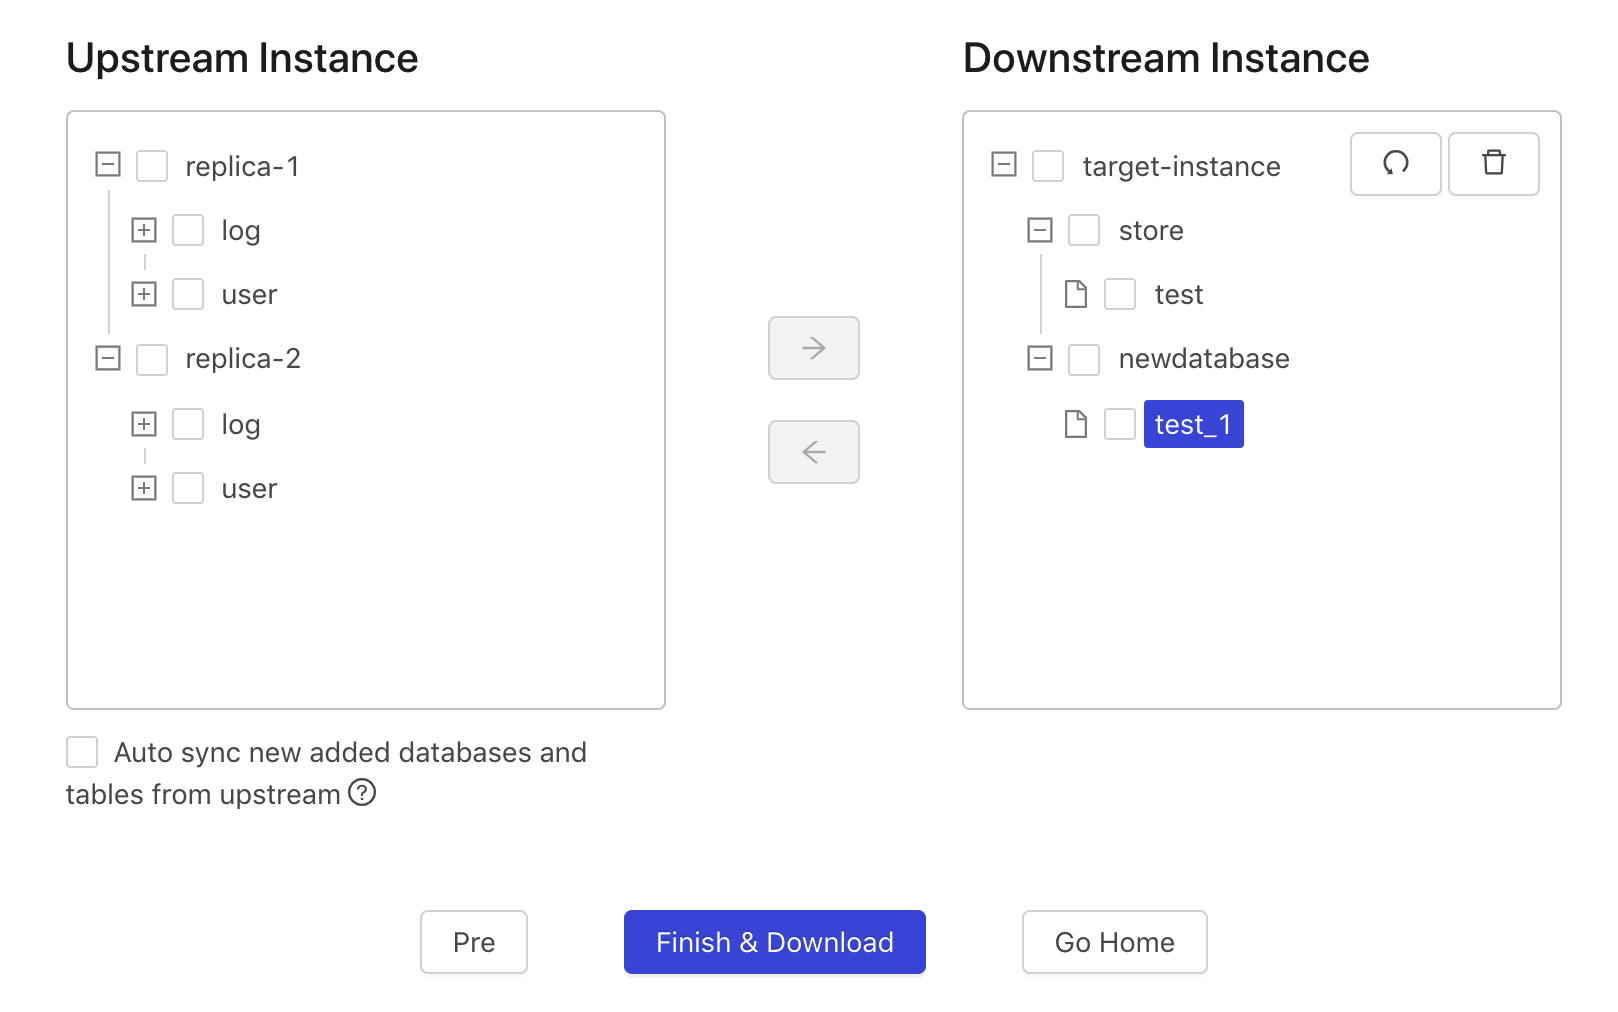
To move the table to a new database, drag the table onto the
target-instanceicon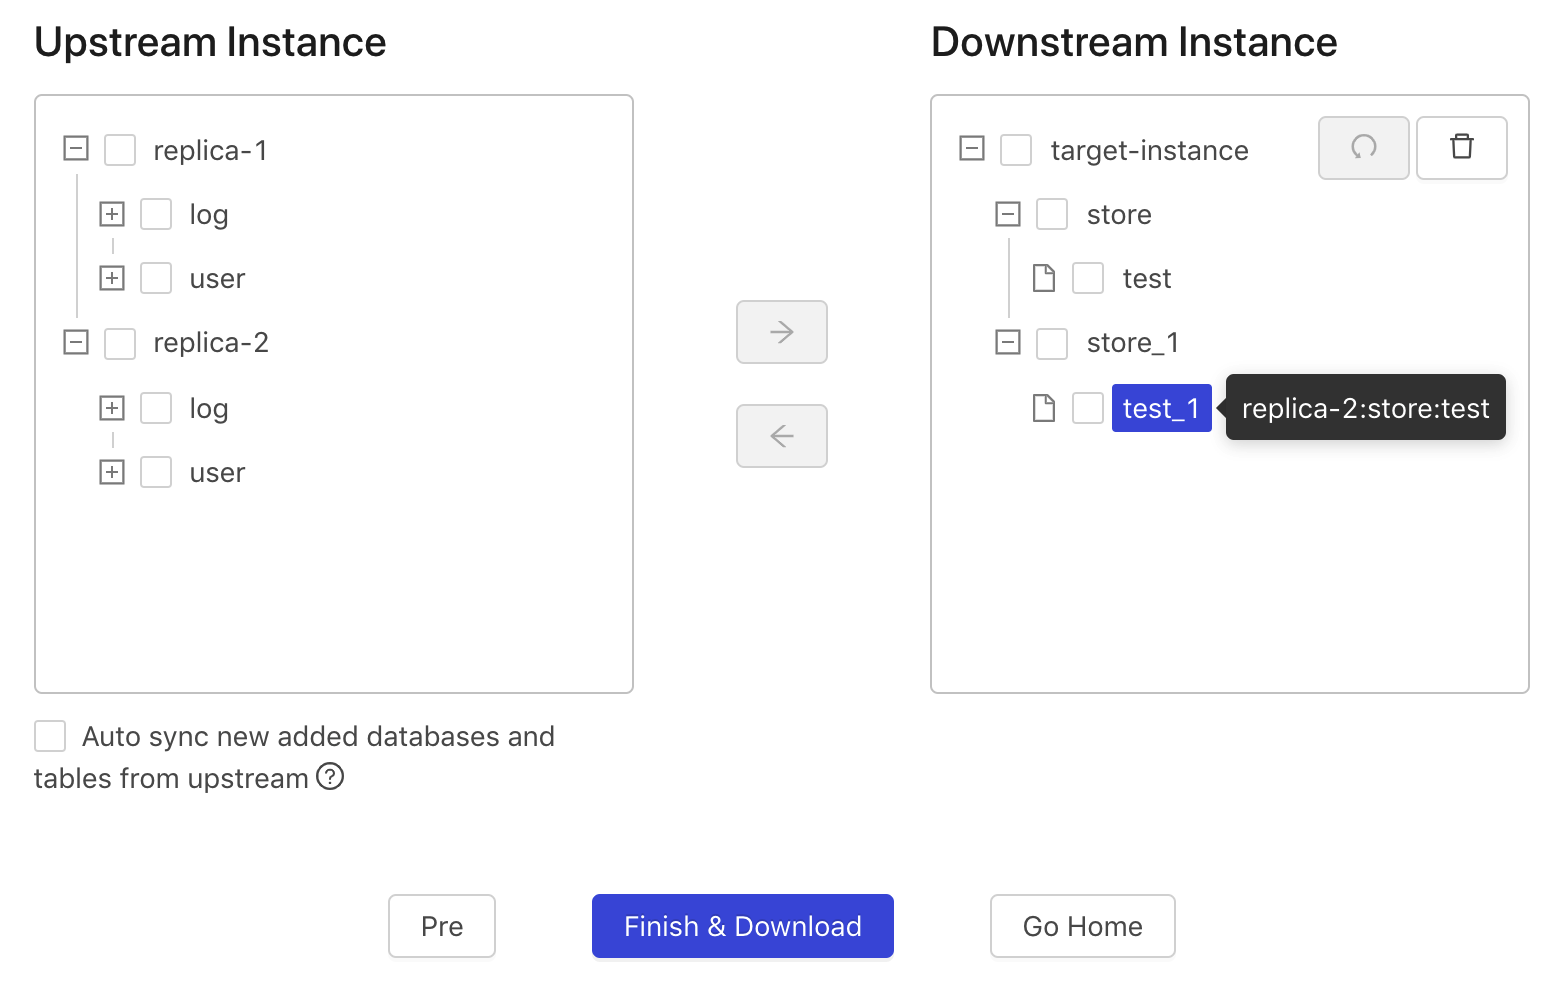
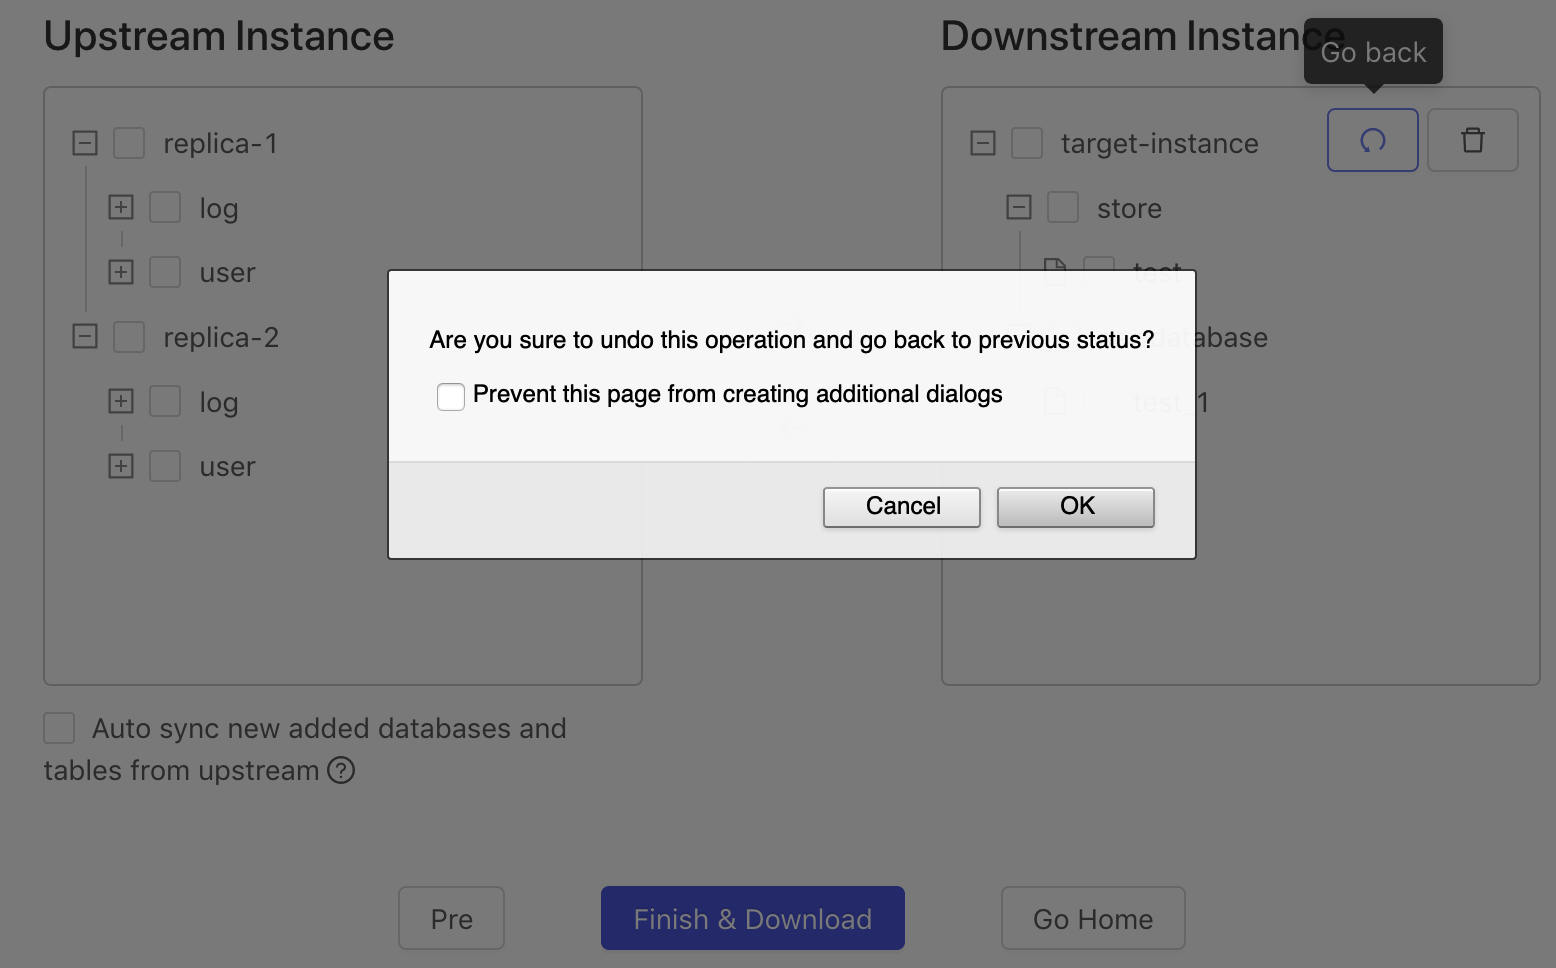
Click Go Back to undo the last operation.
Click Reset to clear the downstream instance.
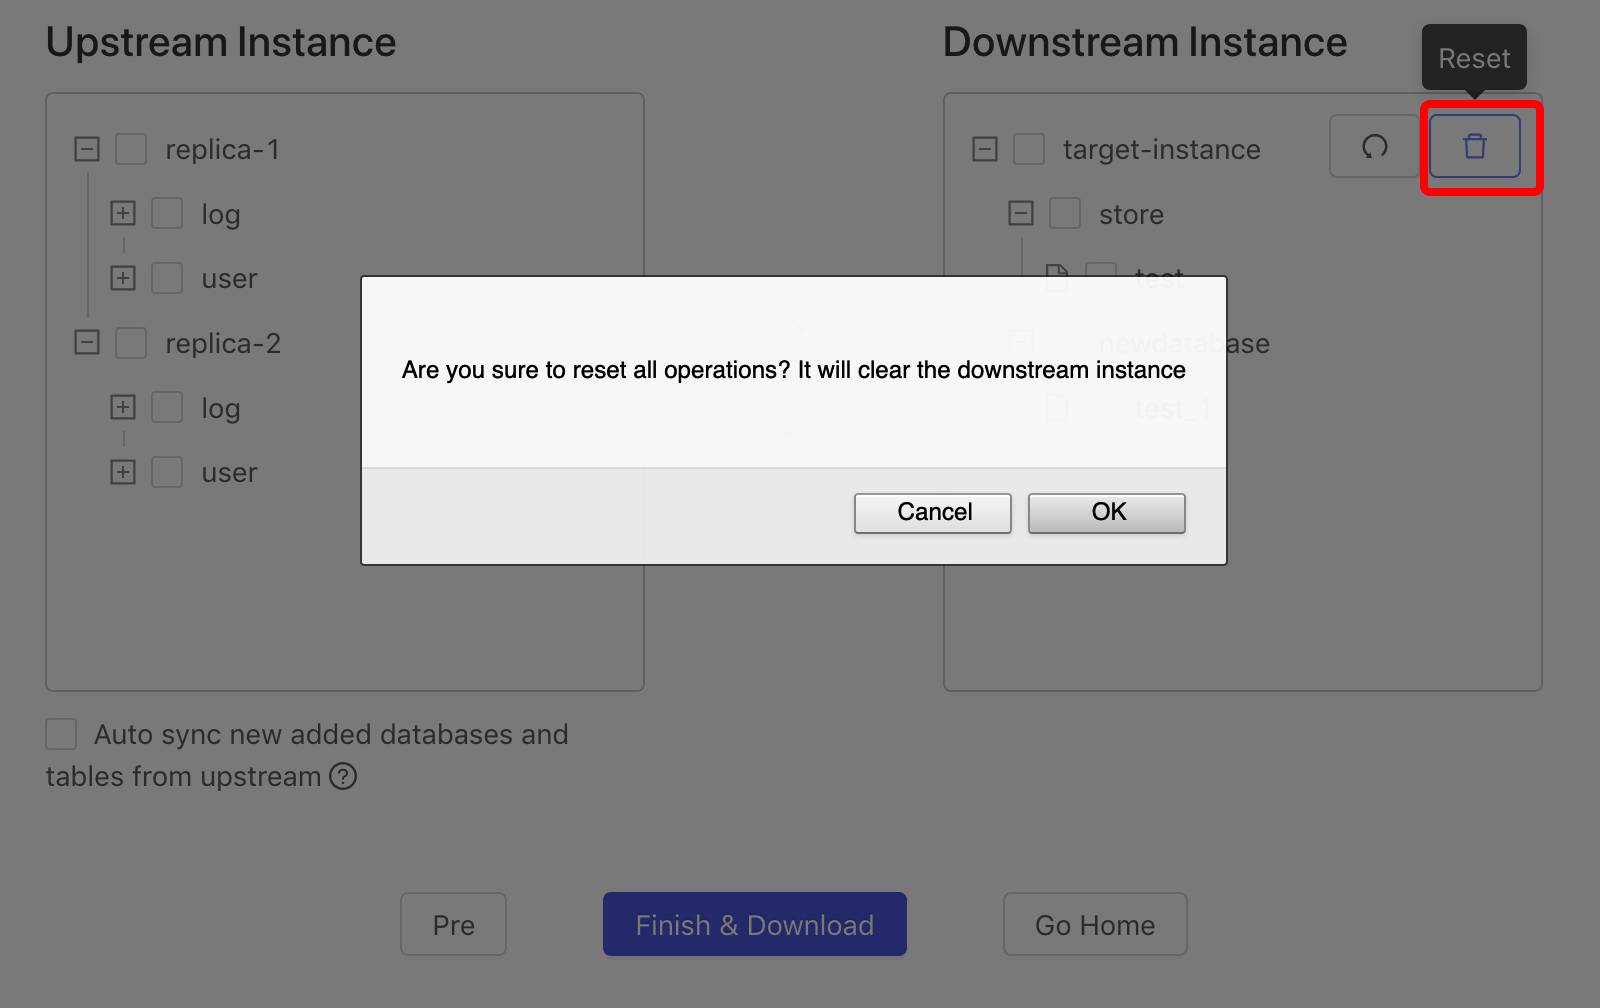
Click Finish & Download. DM Portal automatically downloads the
task.yamlfile to the local computer, and creates atask.yamlconfiguration file in the/tmp/directory on the DM Portal server.